Shopify and Dropshipping: Complete Setup Guide
Configuring a Shopify dropshipping store from account creation through first live product takes roughly 90 minutes across six steps.
Shopify and Dropshipping: Complete Setup Guide
Configuring a Shopify dropshipping store from account creation through first live product takes roughly 90 minutes across six steps. This guide covers plan selection, theme install, supplier app connection, product optimization, payment and policy setup, and pre-launch testing, with specific verification benchmarks at each stage.
Before You Start
You need four things ready before Step 1: a business email address (not your personal Gmail), a credit or debit card for Shopify billing, a rough idea of your niche, and approximately 90 uninterrupted minutes. If you haven't narrowed down what you want to sell, work through a beginner's guide to dropshipping first so you're not picking products blindly inside the Shopify admin.
Budget expectations: Shopify's free trial lets you build without paying upfront, but your first month of real costs will include the Basic plan at $39/month, a domain name at $11–$15/year, and potentially a paid supplier app tier at $19–$29/month. Total first-month cash outlay runs $60–$85 before ad spend.
One prerequisite that saves headaches later: order a sample from your intended supplier before you build. If the sample arrives damaged or takes 30+ days, you've validated the wrong partner. Suppliers who can't ship a sample in 5–7 days will create fulfillment nightmares at scale. Our supplier scorecard framework walks through exactly how to vet before committing.
Step 1: Create Your Shopify Account and Select a Plan
Shopify's official dropshipping guide recommends starting a free trial and following the built-in setup wizard. Go to shopify.com, enter your email, and answer the onboarding questions about your business type. Select "I'm just starting" and "dropshipping" when prompted.
Pick the Basic plan at $39/month. The Shopify plan ($105/month) adds professional reports and lower transaction fees (2.6% + $0.30 vs. 2.9% + $0.30 per transaction), but those savings only matter once you're processing more than $8,000/month in revenue. Don't upgrade early.
You'll know this step worked when you see the Shopify admin dashboard with the setup checklist on the left sidebar. Connect your custom domain now if you have one, or buy one through Shopify's built-in registrar.
Step 2: Install a Theme Built for Conversion
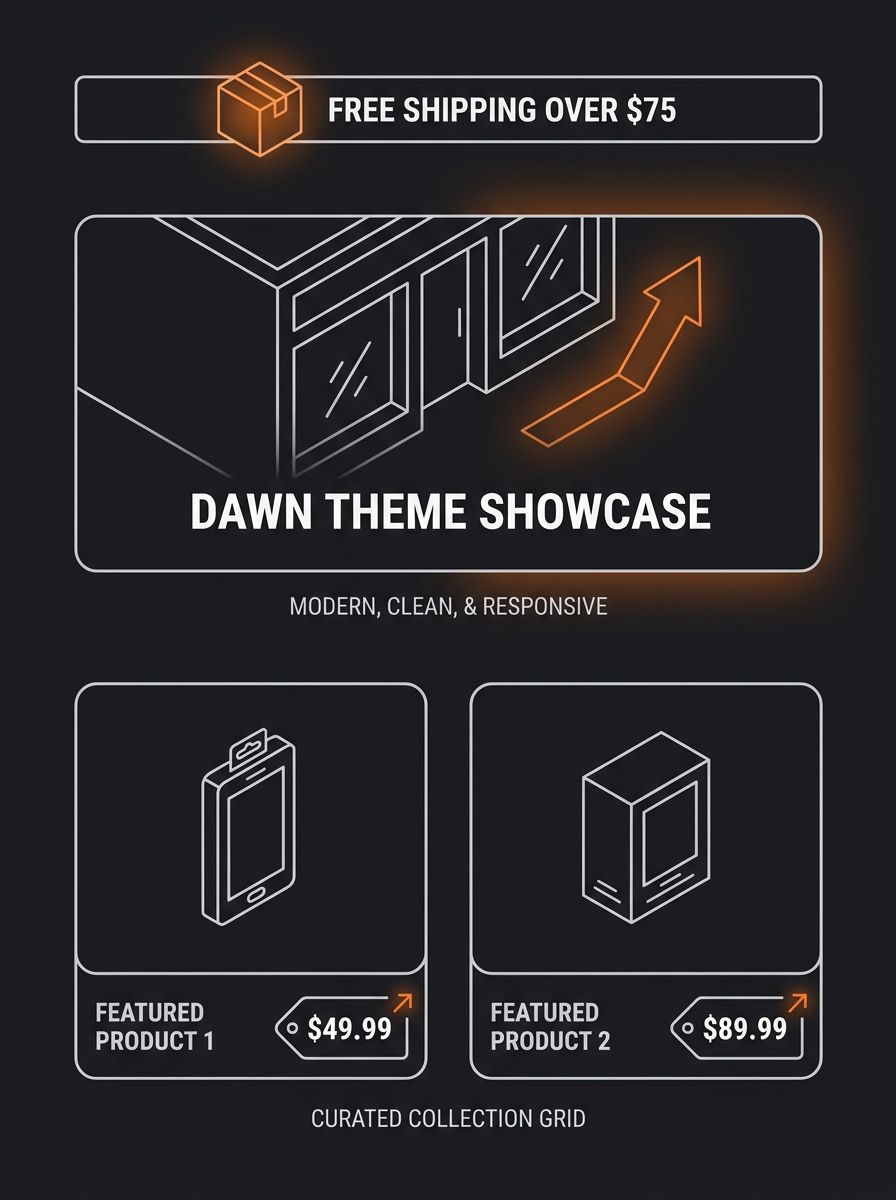
The default Dawn theme (free) performs well for dropshipping stores, with clean product pages and fast load times. Shopify's Winter '26 Edition introduced native A/B testing and checkout UI extensions on all paid plans, which means you can now test page variations without installing third-party split-testing apps.
Go to Online Store > Themes > Visit Theme Store. Filter by "Free" and choose Dawn or Sense. Both support Shopify 2.0 sections everywhere, so you can customize every page without touching code.
Configure these five elements immediately:
Homepage hero: one product collection or value proposition image, not a slider
Featured collection: your top 4–8 products with prices visible
Announcement bar: shipping timeframe or free-shipping threshold (e.g., "Free US shipping on orders over $45")
Footer: links to your shipping policy, refund policy, and contact page (you'll create these in Step 5)
Favicon: upload a simple icon so browser tabs look professional
You'll know this step worked when your store preview loads in under 3 seconds on mobile (test via Google PageSpeed Insights) and shows your collection grid with prices.
Step 3: Connect a Supplier App
This is where Shopify and dropshipping actually link up. Go to the Shopify App Store's dropshipping category, where you'll find supplier integration apps organized by fulfillment type and region.
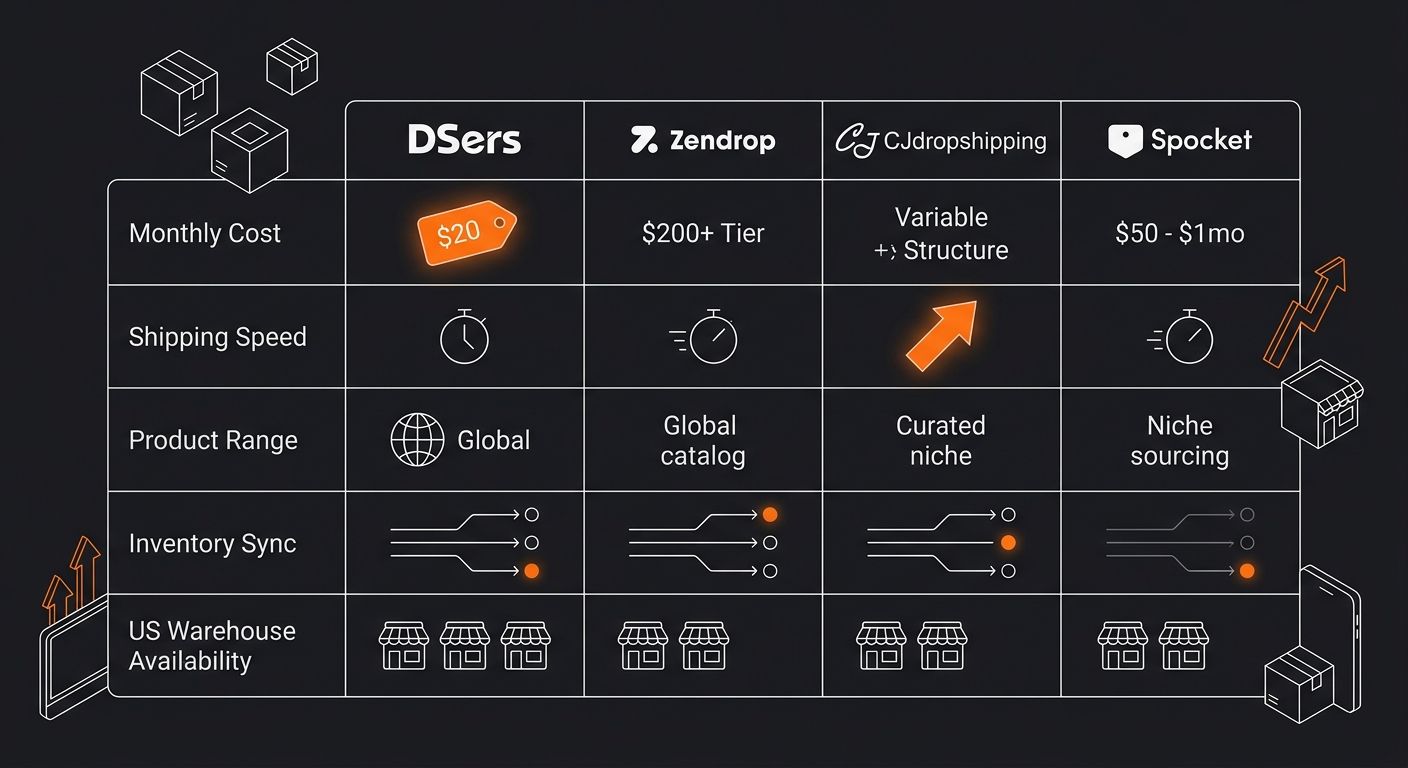
The Spark Shipping team's 2026 app comparison noted that scaling stores "need API-grade supplier integrations, multi-vendor routing rules, real-time inventory across Shopify and other channels, and exception handling for failed orders," according to their published analysis. But you're not at that stage yet. For launch, pick one app from the table below.
App | Monthly Cost | Supplier Pool | US Warehouse Option | Auto-Order |
|---|---|---|---|---|
DSers | Free–$49.90 | AliExpress | No | Yes |
Zendrop | Free–$49 | Vetted network | Yes | Yes |
CJdropshipping | Free | CJ suppliers | Yes (select SKUs) | Yes |
Spocket | $39.99–$99.99 | US/EU suppliers | Yes | Yes |
AppScenic | $21–$78 | Vetted brands | Yes | Yes |
AppScenic's Shopify integration page promises to "manage all aspects of your dropshipping business" from product import and price syncing to automatic order processing and tracking updates, according to their integration documentation. That's the pitch from every app, though. What matters is whether inventory sync actually works in real time and whether failed orders trigger alerts.
Install your chosen app, create an account inside it, and connect it to your Shopify store. You'll know this step worked when the app appears under Apps in your Shopify admin and shows a product import interface.
Step 4: Import Products and Rewrite Every Listing
Browse your supplier app's catalog, find 5–10 products in your niche, and import them to your Shopify store. Do not publish them yet.
Here's where 90% of new stores go wrong: they publish the supplier's default titles, descriptions, and photos without changes. According to TrueProfit's margin analysis, most Shopify dropshipping stores earn between 10% and 20% net profit after all expenses. The stores on the higher end of that range differentiate through original copy and imagery, not by listing the same generic descriptions that 200 other stores already use.
For each product, rewrite:
Title: remove supplier jargon, include the benefit and product type (e.g., "Insulated Stainless Steel Travel Mug – 16oz" instead of "2024 New Hot Tumbler Cup Water Bottle")
Description: write 150–200 words focusing on 3–5 specific benefits, not features. Answer "why should I buy this?"
Images: use the supplier's photos as a starting point, but add lifestyle context. Even basic Canva mockups showing the product in use outperform white-background warehouse shots
Pricing: use a profit margin calculator to set prices that account for product cost, shipping, transaction fees (2.9% + $0.30 on Basic), and your target ad spend per order
A case study documented by DropshipChinaPro illustrates the math: a seller named Daniel reduced his product cost from $8.00 to $6.00 by switching suppliers and cut his effective ad cost per order from $12.00 to $9.00 through email retention, lifting per-order profit from $4.89 to $9.89. Those gains came from sourcing and marketing decisions, not from selling different products.
Set your AOV target between $45 and $85. With US Meta CPMs averaging $14.80 in Q1 2026 (up 11% year-over-year) and TikTok CPMs running $6–$9, anything below $35 AOV makes profitable customer acquisition extremely difficult.
You'll know this step worked when each product page has a custom title, original description, at least 5 images, and a price that gives you 40%+ gross margin before ad spend.
Step 5: Configure Payments, Shipping Zones, and Policy Pages
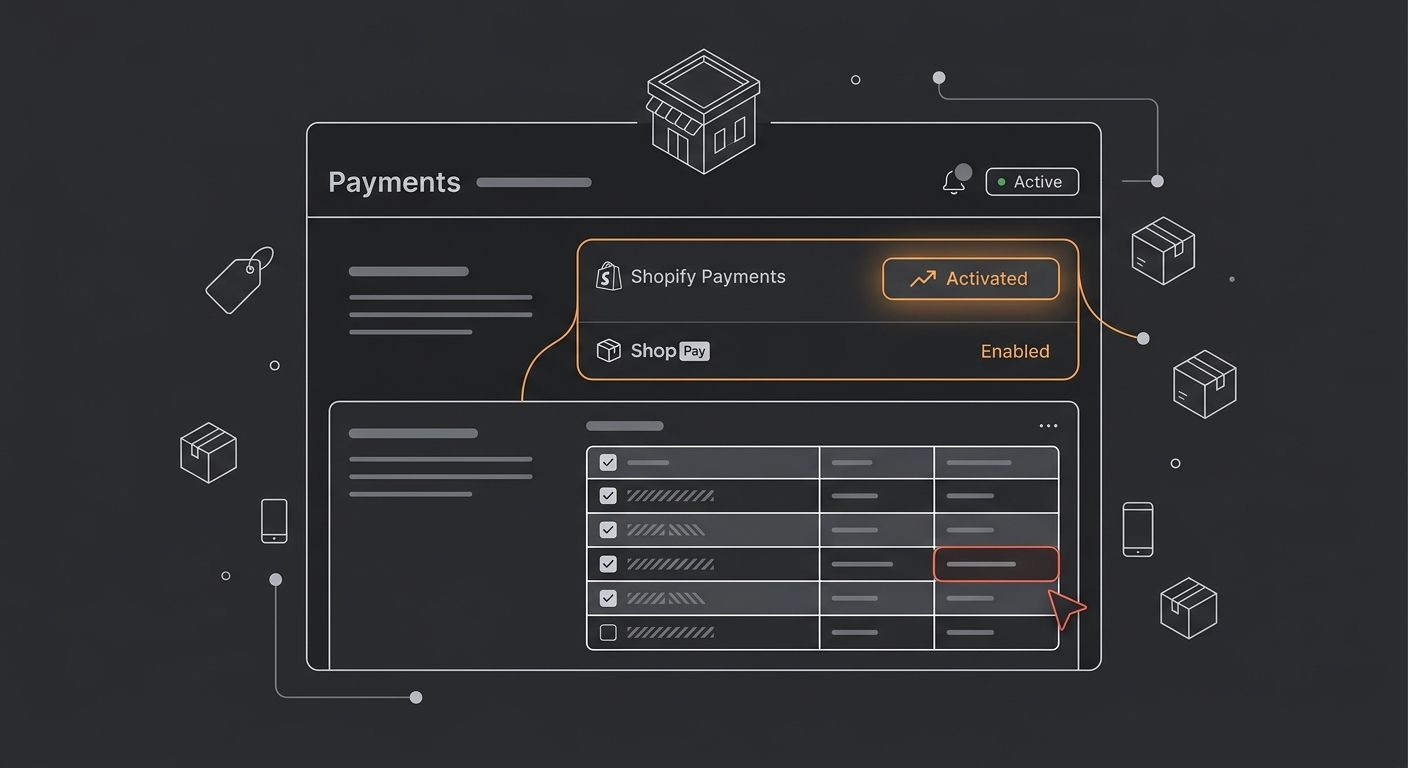
Go to Settings > Payments. Enable Shopify Payments (which includes Shop Pay). This is non-negotiable: Shop Pay drives a 91% higher conversion rate compared to guest checkout, according to Shopify's published performance data. If you skip this, you're leaving money on every transaction.
Set up shipping zones under Settings > Shipping and delivery:
Domestic (US): offer free shipping above your AOV threshold (e.g., free over $45) and a flat $4.99 rate below it
International: either disable or set flat rates of $9.99–$14.99 depending on your supplier's capabilities. Review our coverage of DDP shipping decisions before enabling international orders
Create four mandatory pages under Online Store > Pages:
About Us: your brand story, why you exist, what you stand for. Two paragraphs minimum.
Contact Us: embed Shopify's contact form or list an email address. Include expected response time.
Shipping Policy: state estimated delivery windows honestly. If your supplier ships in 10–15 business days, say "10–15 business days." Overpromising creates chargebacks.
Refund Policy: use Shopify's refund policy generator as a starting template, then customize.
Missing policy pages trigger ad account flags on Meta and Google. You will get your ads rejected without them.
You'll know this step worked when you can view all four policy pages from your storefront footer and when Shopify Payments shows "Active" in your admin.
Step 6: Place a Test Order
Go to Settings > Payments > Shopify Payments > Manage, and enable test mode (Bogus Gateway). Place an order through your storefront as if you were a customer. Walk through the entire checkout flow: add to cart, enter shipping info, complete payment.
Verify these five things:
Product photos and descriptions display correctly on the product page
Cart calculates shipping correctly based on your zone rules
Shop Pay appears as a payment option
Order confirmation email arrives at your inbox with correct details
The order appears in your Shopify admin under Orders
Then disable test mode, go back to your supplier app, and place one real order with your own money. Ship it to yourself. This $15–$30 investment tells you exactly what your customer will experience: packaging quality, insert cards (or lack thereof), and actual delivery timeframe.
You'll know this step worked when you've received your own test product and confirmed it matches the listing.
When Orders Go Sideways
Three problems surface most often in the first 30 days.
Inventory sync failures. Your supplier app shows a product as in stock, but the supplier has actually run out. The customer orders, nothing ships, and you eat a refund. Fix: check your app's sync frequency setting and set it to every 2–4 hours. If your app doesn't support frequent sync, that's a reason to switch apps early. Our analysis of inventory sync failure patterns covers this in depth.
Shipping times exceed expectations. You listed "7–12 business days" but the product arrives in 22 days. Fix: pad your stated delivery window by 30% and build in tracking notification emails at order confirmation, shipment, and estimated delivery. AliExpress shipping tiers range from 7 to 50 days depending on service level, so know exactly which tier your supplier uses.
Payment gateway holds. Shopify Payments occasionally holds funds for new stores with sudden spikes in order volume. This is standard fraud prevention. Fix: keep your order volume growth gradual (don't scale ads from $0 to $500/day overnight) and respond to any Shopify identity verification requests within 24 hours.
Where to Go From Here
Your store is live, your first products are listed with original copy, and you've verified the entire order flow end to end. The global dropshipping market is projected to exceed $430 billion by the end of 2026, but 90% of new stores still fail within their first 120 days. The stores that survive past that window share two traits: they treat supplier relationships as ongoing audits (not one-time selections), and they build retention channels like email and SMS before scaling ad spend.
Your next moves depend on your current revenue. Below $1,000/month, focus entirely on getting your first 50 orders and collecting customer feedback. Between $1,000 and $5,000/month, start automating fulfillment workflows and split-testing product pages with Shopify's native A/B tools. Above $5,000/month, begin negotiating better unit costs directly with suppliers and explore whether domestic fulfillment changes your margin structure.
The setup you built today is a foundation, not a finished business. Every decision from here, from supplier swaps to ad channel selection, compounds on top of it.

Ryan Torres
Ryan Torres is a former Amazon FBA seller turned dropshipping consultant who has generated over $2.8M in ecommerce revenue across 14 product launches. He specializes in supplier vetting, margin optimization, and scaling DTC operations for sub-$1M brands. Ryan focuses on actionable frameworks that drive measurable results for independent operators.
Frequently Asked Questions
- How long does it take to set up a Shopify dropshipping store?
- Setting up a Shopify dropshipping store from account creation through launching your first live product takes approximately 90 minutes across six steps: plan selection, theme installation, supplier app connection, product optimization, payment and policy setup, and pre-launch testing.
- How much does it cost to start a Shopify dropshipping store?
- Your first-month costs before ad spend include the Shopify Basic plan at $39/month, a domain name at $11-$15/year, and potentially a paid supplier app tier at $19-$29/month, totaling $60-$85. You can build without paying upfront using Shopify's free trial.
- Which Shopify plan should I choose for dropshipping?
- Start with the Shopify Basic plan at $39/month. The higher-tier Shopify plan at $105/month isn't worth upgrading to until you're processing more than $8,000/month in revenue, as the savings on transaction fees don't justify the additional cost for new stores.
- What should I look for when choosing a dropshipping supplier app?
- Choose a supplier app based on your target market and shipping speed needs. For US customers, apps like Zendrop or CJ Dropshipping with domestic warehouse options offer 7-12 day delivery, while DSers sourcing from AliExpress typically takes 15-30 days. Ensure the app supports real-time inventory sync and automatic order processing.
- Why do I need to rewrite product descriptions in Shopify dropshipping?
- Rewriting product titles and descriptions is critical because 90% of new stores fail by publishing generic supplier descriptions that 200 other stores already use. Stores with higher profit margins differentiate through original copy, lifestyle images, and benefit-focused descriptions instead of feature lists.
- How do I increase conversion rate on my Shopify dropshipping store?
- Enable Shopify Payments and Shop Pay, which drives a 91% higher conversion rate compared to guest checkout. This is non-negotiable for maximizing revenue from your traffic.
- What is the minimum average order value for profitable dropshipping ads?
- Set your target average order value (AOV) between $45 and $85. With Meta CPMs averaging $14.80 and TikTok CPMs at $6-$9, anything below $35 AOV makes profitable customer acquisition extremely difficult.
- Why should I place a test order before launching my Shopify store?
- Placing a test order with your own money ($15-$30 investment) lets you experience exactly what customers will receive: packaging quality, actual delivery timeframe, and product condition. This validates your supplier before accepting real customer orders.
Related Articles
Dropshipping How to: Complete Beginner's Guide
Every step of launching a dropshipping store fits into a single weekend: niche selection, LLC registration, Shopify storefront, supplier vetting, product import, and a live test order. Total startup cost sits under $150, and you'll have a functioning store accepting real orders by Sunday night.
How to Do Dropshipping: Complete Beginner's Guide
This guide walks you through how to do dropshipping from zero to first sale in under a week. Seven steps cover niche selection, business registration, store setup, supplier vetting, product pricing, test orders, and ad launch, with specific costs and timelines at each stage.
Aliexpress Dropshipping Websites
Three apps dominate AliExpress dropshipping websites: DSers for bulk ordering, AliDrop for US/EU supplier access, and Dropshipman for pre-shipment quality checks. This guide walks you through selecting one, connecting it to your storefront, and placing a verified test order in about four hours.
Explore more topics